Appearance
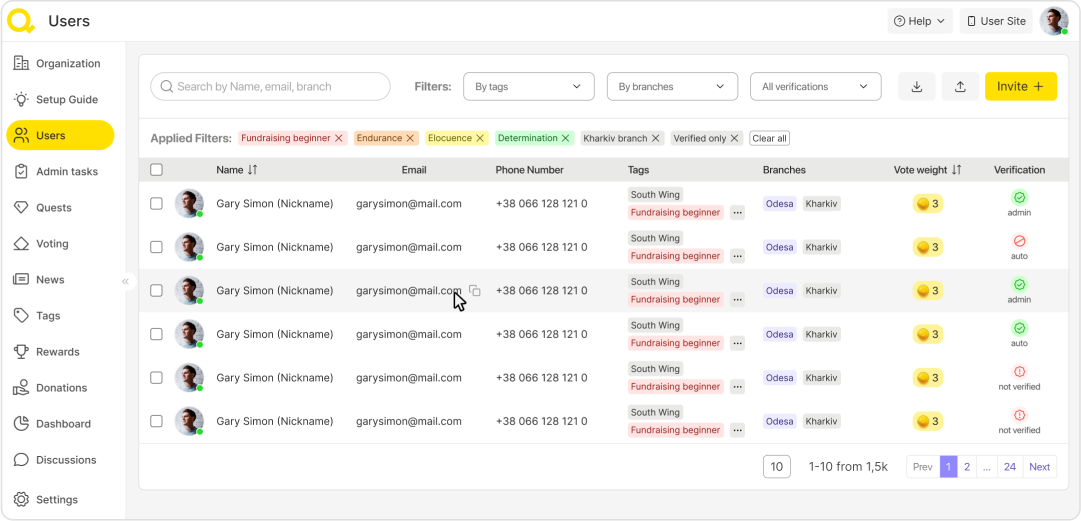
Users
This page stores information about all of your supporters, their data, and their involvement in your organization. The information is presented in a list, displaying 10 supporters on a page. It contains their email, name, phone number, branch, verification status, Vote Weight, and custom tags.
Use the search bar to look up specific volunteers using their email or phone number.
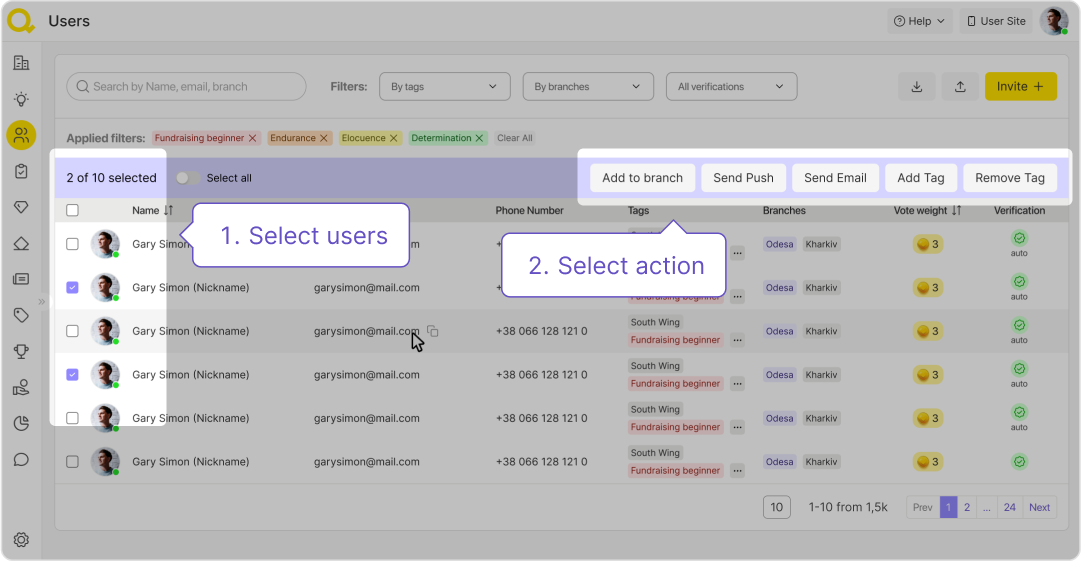
Action With Selected
You can select users by ticking the boxes next to their data. You can add them to a branch, send them a push or an email, or tag them.
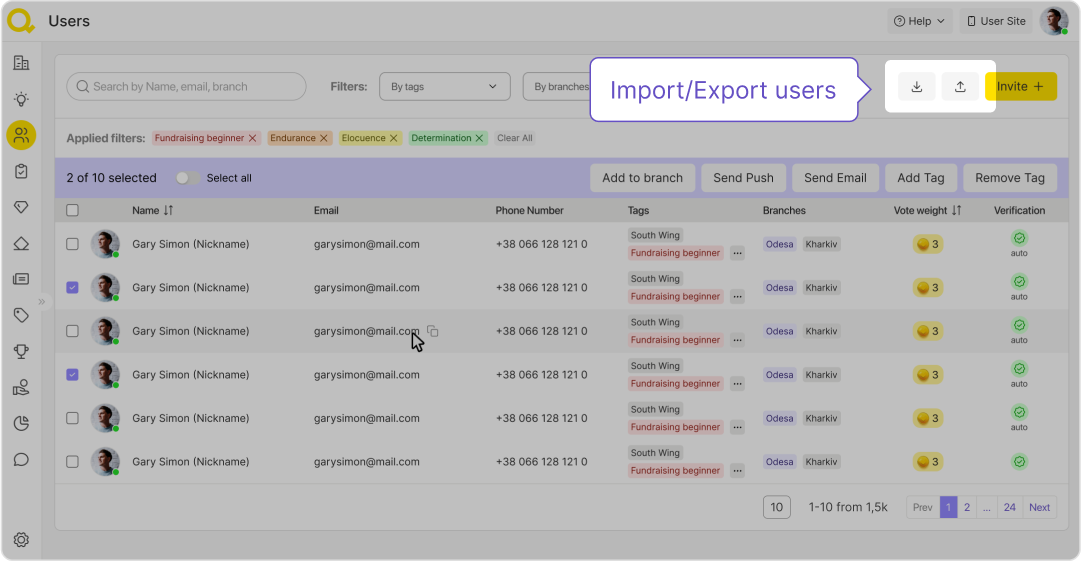
Import/export users
You can import and export the list of your volunteers in an Excel format using the “Import", "Export" button.
Invite new user
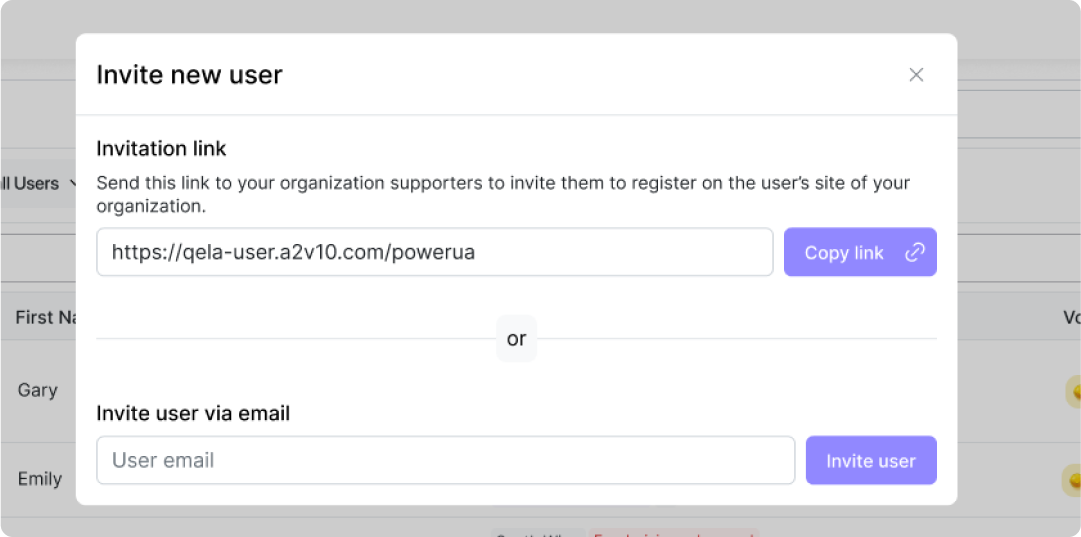
You can invite new users by using the button "Invite"

By clicking this button, the administrator can copy the link to the organization to send to the user or enter the email-address of the user they want to invite.
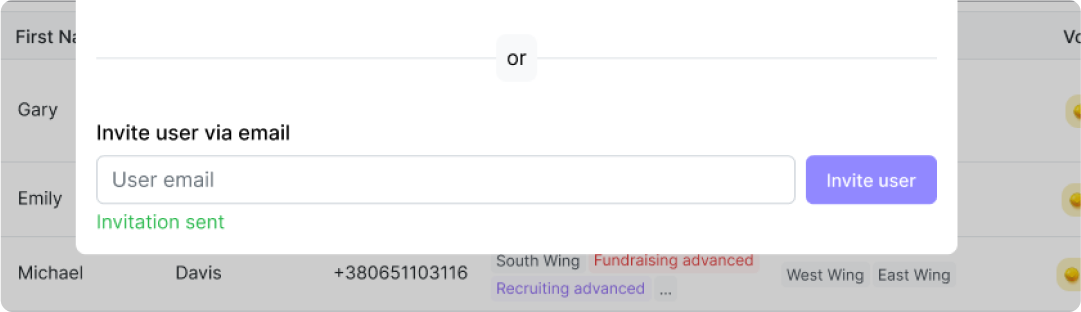
After sending the letter, the administrator will see a message that the letter has been sent.
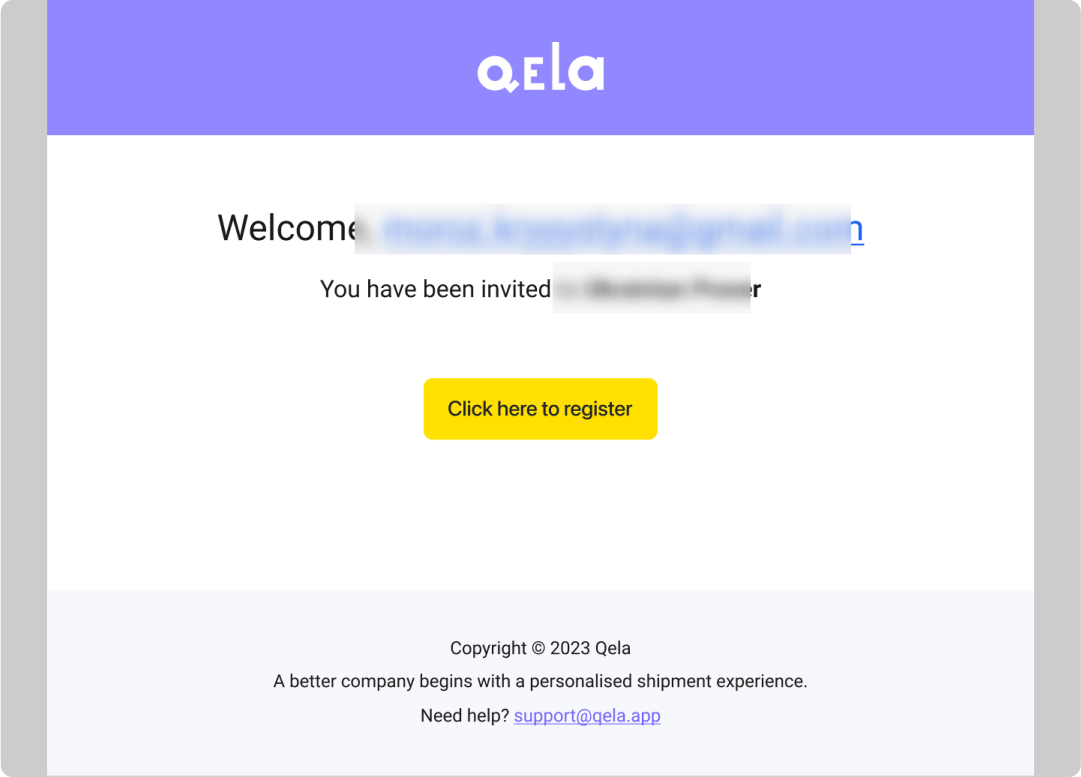
The user receives an invitation letter to a specific organization by email. By clicking on the "Click to sign up" button, the user goes to the registration form of the organization from which the letter was received.
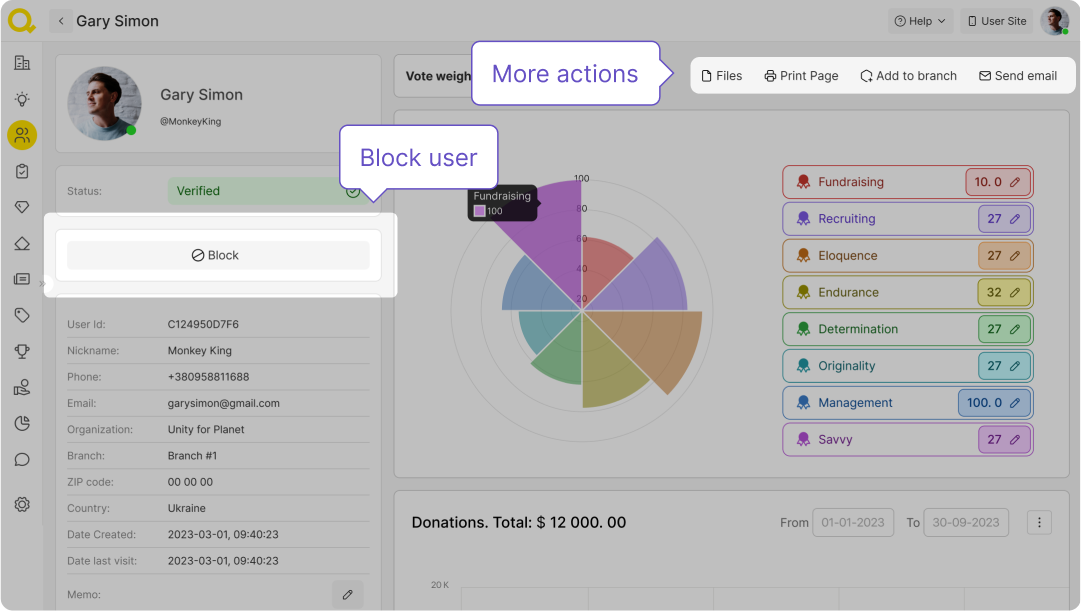
User profile
By presing on a single row a user profile page will open.

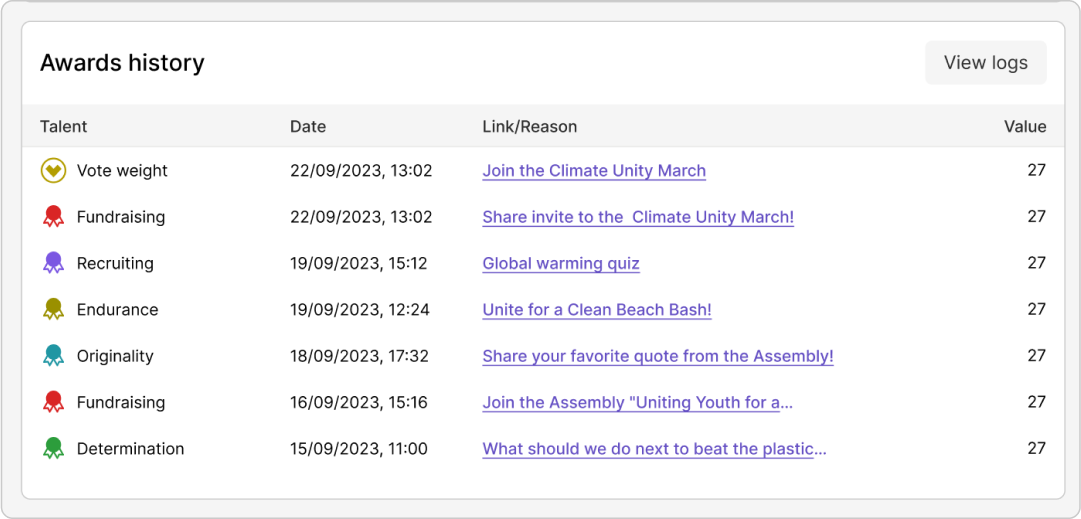
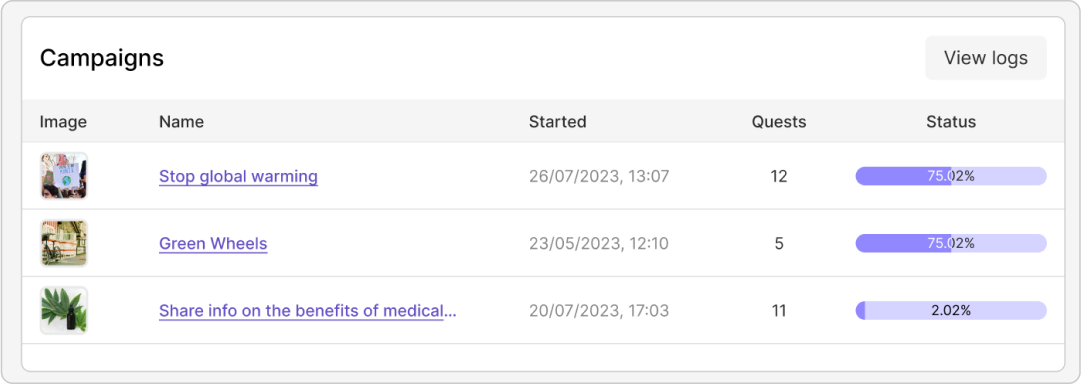
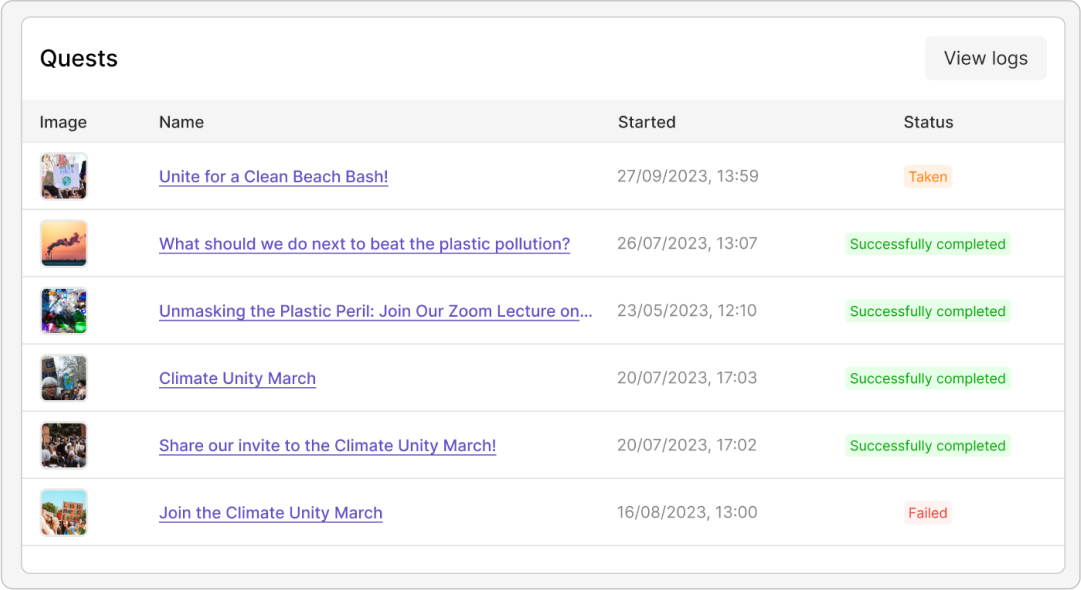
The user profile stores detailed information about each volunteer's activity in your organization in Qela.
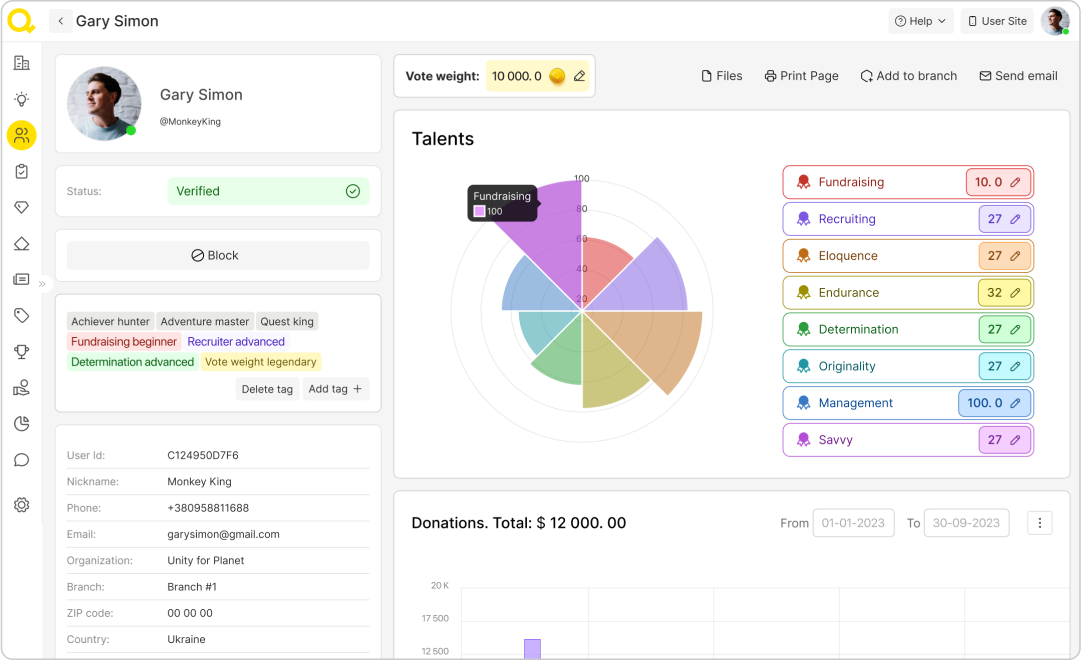
Use each of the graphs to learn more about how a supporter interacts with your organization through Qela! You can see updates to their participation in quests and campaigns as well as their rewards by clicking “view logs” on each of those graphs.
There are also separate buttons for blocking a user, sending them an email, adding them to a specific branch, or printing out their data.